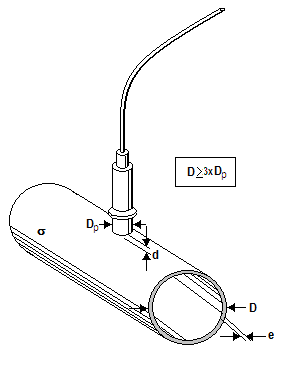
Advantages of the eddy current technique for thickness measurement
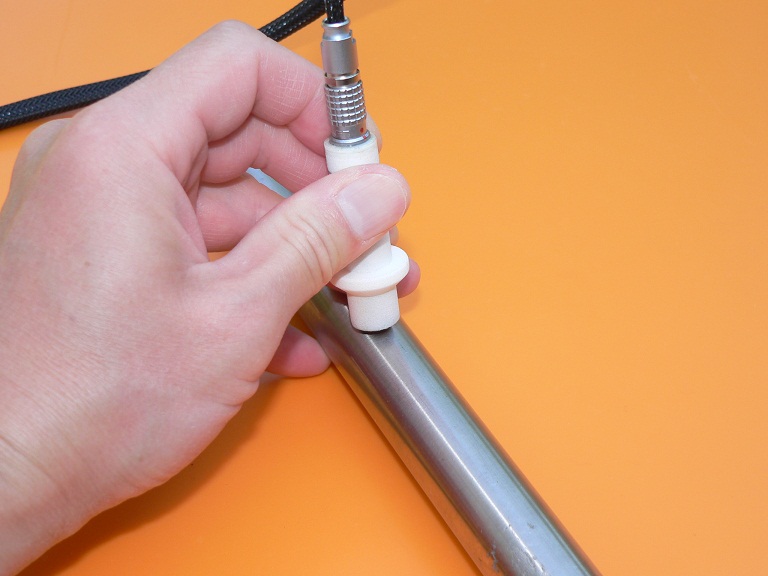
Advantages of the eddy current technique for thickness measurement
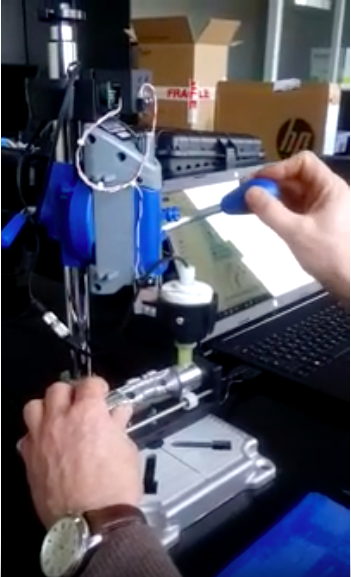
Advantages of the eddy current technique for thickness measurement
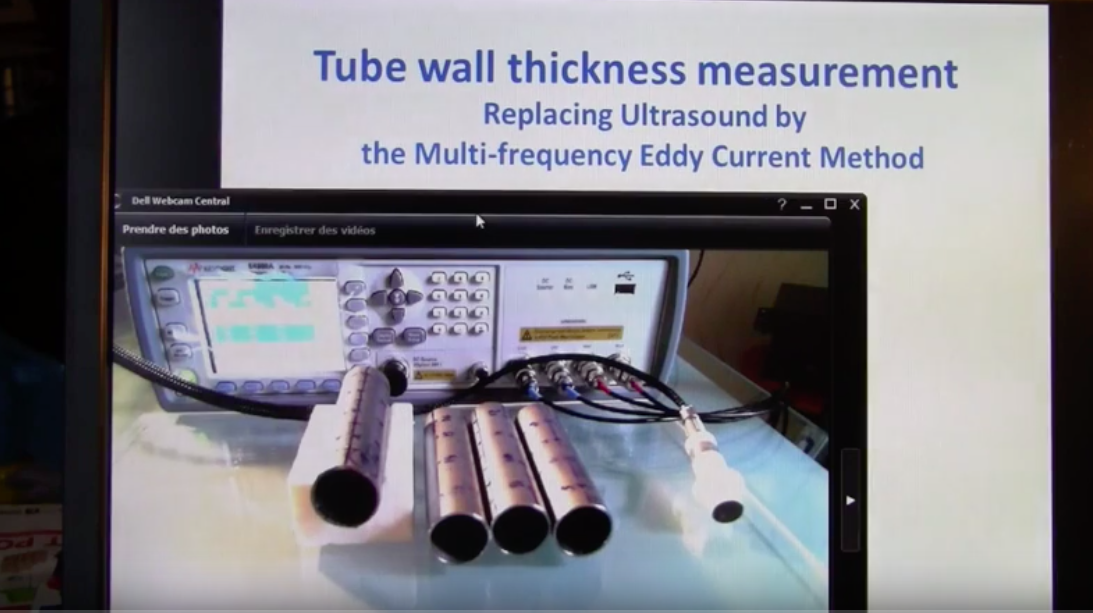
Advantages of the eddy current technique for thickness measurement
Sciensoria’s eddy current thickness measurement technique has many advantages:
- Single-sided measurement, no mechanical or electrical contact required, capable of measuring on moving targets
- Good tolerance to air gap variation, or tilting of the probe
- Good tolerance to changes in target material: automatic compensation of electrical conductivity, magnetic permeability (only for weakly magnetic materials).
- Small measurement spot allowing good spatial resolution
- Wide measuring range
- Capable of measuring the absolute value of the wall of tubes, tanks and other closed products of materials not previously characterized
The eddy current solution developped by Sciensoria is particularly suitable for inspection of tubes used in airspace technologies since these tubes are made of noble metals (not carbon steel) and have thin wall.
Below is a video clip showing how easy it is to measure tube thickness with the eddy current technique. Click on this link to watch the video: https://youtu.be/Iv8TCL5uVvY.
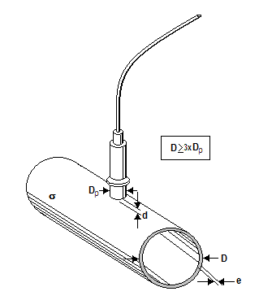
Sciensoria has a unique technique that allows you to measure the thickness of a curved wall such as that of a tube, a box, or a turbine blade, … at the same time as the electrical conductivity of the material of the wall in question, in varying lift-off. In addition, the eddy current technique does not need a coupling liquid between the probe and the measured wall, unlike the ultrasonic method.
Getting rid of the couplant is a great advantage when working in hazardous environments such as nuclear or chemical facilities, as operators do not have to clean the surface afterwards.
In 2019, the leading German automotive supplier Mahle ordered 2 aluminum wall thickness measurement systems from Sciensoria. These systems make it possible to measure the thickness of the aluminum pistons at the production outlet with an accuracy of 0.05 mm over a nominal thickness of 1.5 mm. The system can perform 10 measurements per second. More than one million of parts have been checked with the two Sciensoria’s Conducsens(tm) systems.
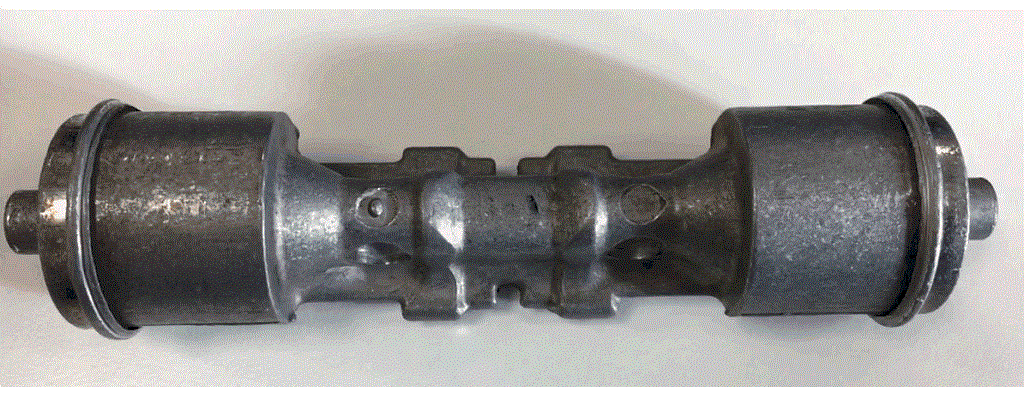
A pair of pistons before grinding
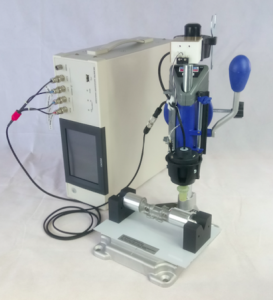
The eddy current nondestructive system Conducsens(tm) which can perform 10 measurements per second
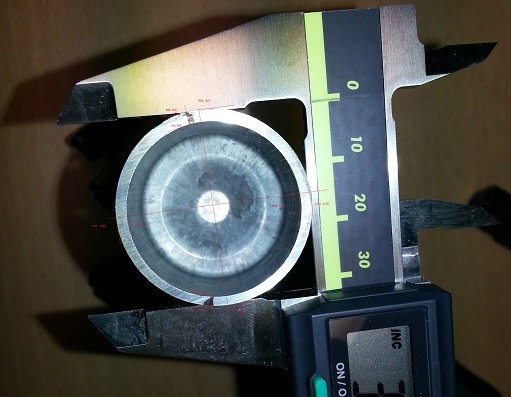
The sectional view of a piston and … (see below)
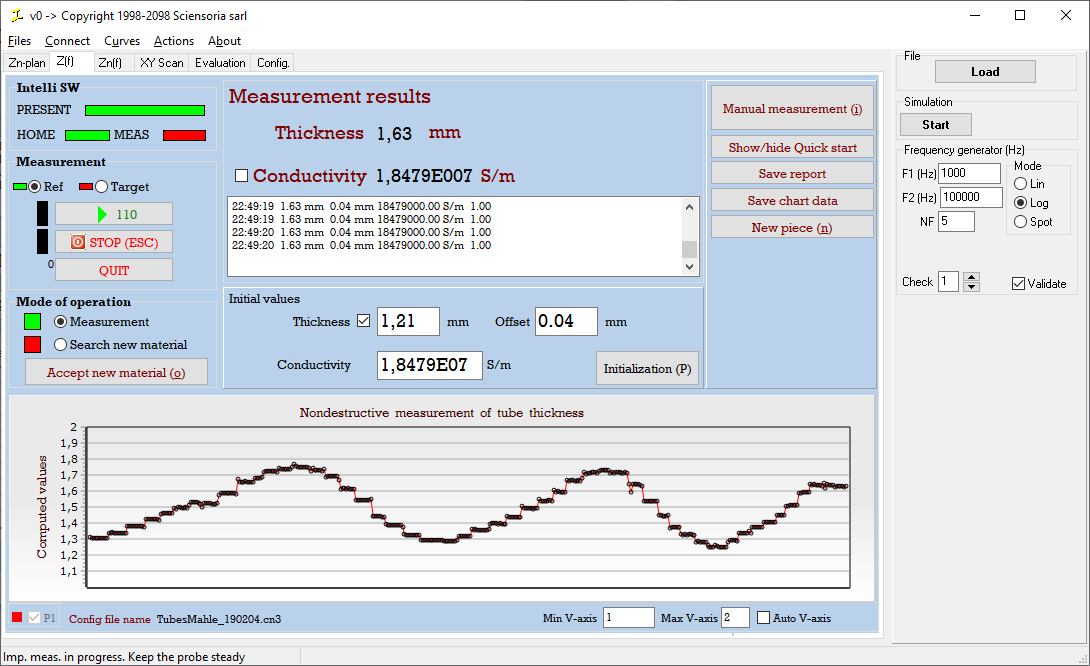
… evolution of the thickness reading on several turns of the piston
As can be seen, the above system uses the multi-frequency eddy current method to simultaneously determine the electrical conductivity of the material (aluminum) and the thickness. Without measuring the electrical conductivity of the material, it is impossible to get such a good result in the thickness measurement. This is because the electrical conductivity of the parts measured can vary even when the same grade of aluminum is used. The electrical conductivity of aluminum can even depend on the ambient temperature. Therefore, the electrical conductivity must be constantly monitored when measuring the thickness.
The technique works with all metal tubes including nickel ones, with the exception of carbon steel tubes.
Read also
- Conducsens™ eddy current expert system
- https://www.sciensoria.fr/en/eddy-current-measurement-of-thickness-electrical-conductivity-and-distance-with-the-conducsens-nondestructive-evaluation-nde-system/ to learn more about the Sciensoria’s eddy current technique and the Conducsens(tm) system.
- https://www.sciensoria.fr/en/detection-of-flaws-using-the-eddy-current-technique/ to learn about how to detect circumferential (transversal) flaws on tube wall.
