Use of a high resolution probe for detection of flaws on heat exchanger tubes
Sciensoria has designed a special probe for the nondestructive testing of tubes. It is a rotative probe with separate excitation and detection coils. The probe features “directional exciting current sheet” that can maximize the sensitivity to flaws.
The probe can detect transversal (circumferential) flaws which are difficult to detect with traditionnal probes. Below is an example of tube testing with our probe.
Characteristics of the tested tube:
- OD: 22.2 mm (7.8″)
- Thickness: 1.27 mm (0.05″)
- Material: inconel 600
The flaws are simulated by EDM notches with the following characteristics:
- External, circumferential
- Width: 0.2 mm +/- 0.01
- Depth: 10, 20, 30, …, 100 % of tube wall thickness
- Length: 10 mm +/- 0.5
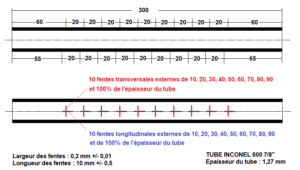
Characteristics of the tube and the artificial defects
In general, the external circumferential flaws are the most difficult to detect. The used probe is a internal, high definition, self-nulling rotative probe. It features the “directional eddy current sheet generation” possibility. The exciting current sheet is directed perpendicularly to the flaws in order to maximize the detection sensitivity.
The captured signal is represented below in cartography mode, color and contour modes. A region of interest (ROI) can be defined and submitted to various treatment operation. In the ROI, a simple threshold rescaling allowed to see smallest defects signals.
One can see that all the EDM notches down to 20% wall thickness-depth are easily detected. The 10% one was detected with some simple additional signal processing.
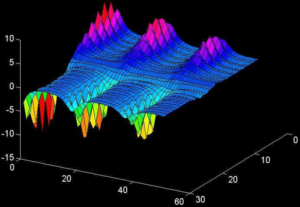
Signature of 3 transversal (circumferential) external defects: each defect is characterized by a positive peak and a negative peak at its ends.
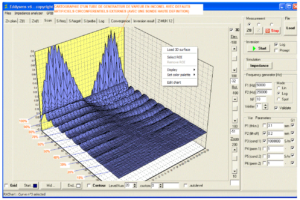
3-D representation of a complete scan on the tested tube which has defects with depth ranging from 10% to 100% of the wall thickness
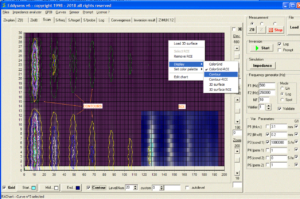
The same representation in color cartography mode. A region of interest (ROI) is focused on the smallest flaws (40% down to 10% wall thickness)
The details of flaw signatures are given below:
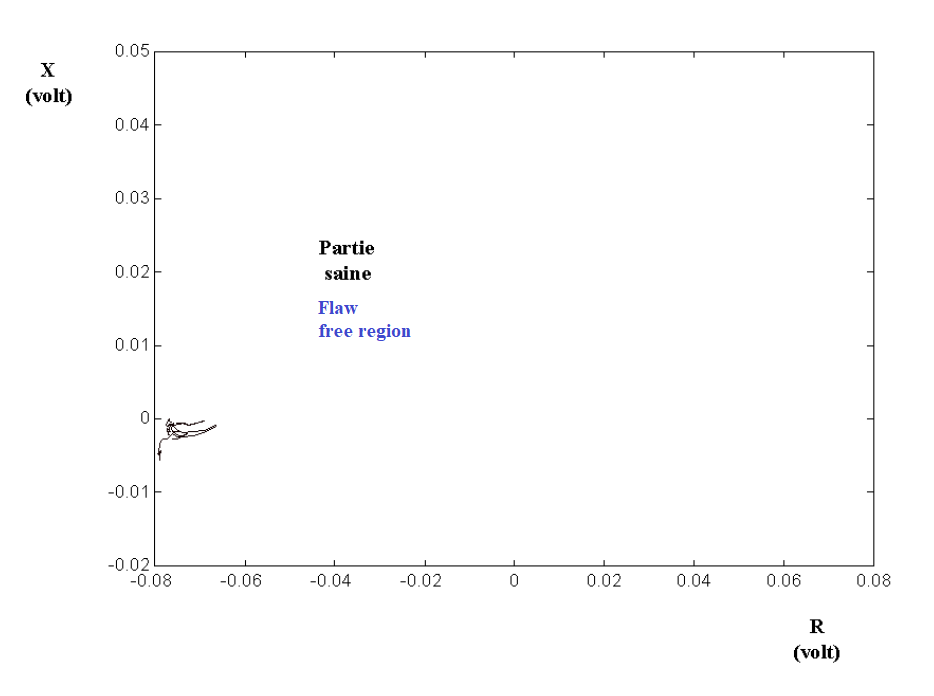
Signature of the flaw free region
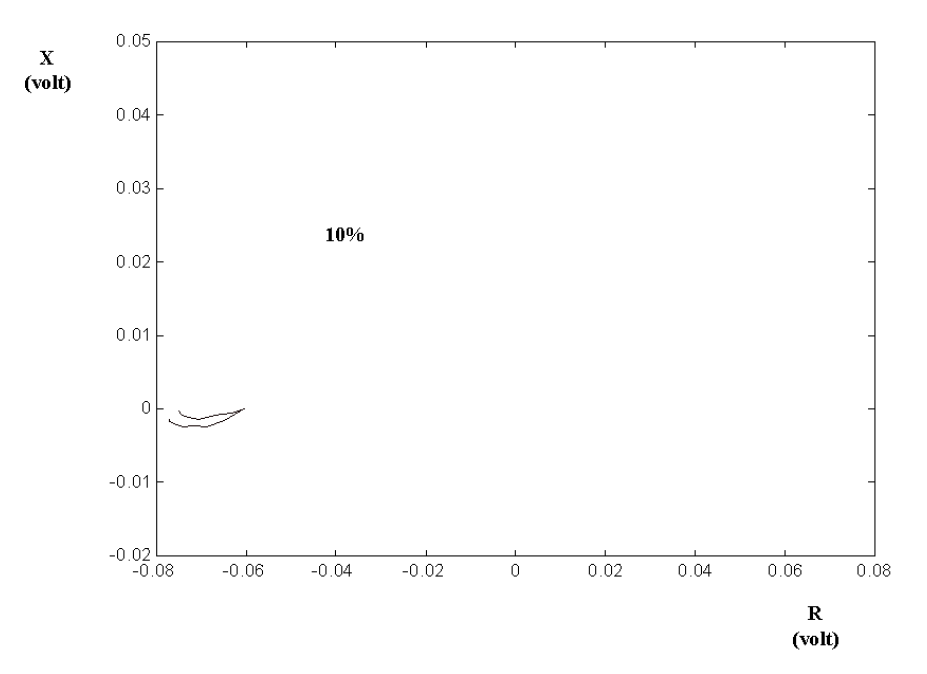
Signature of a 10% wall thickness depth artifical defect
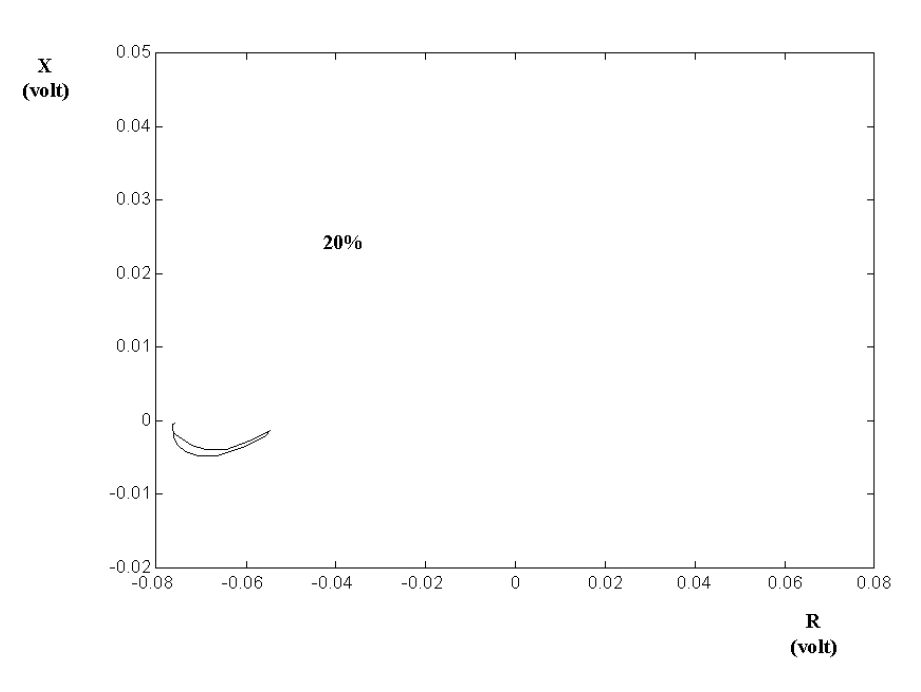
Signature of a 20% wall thickness depth artifical defect
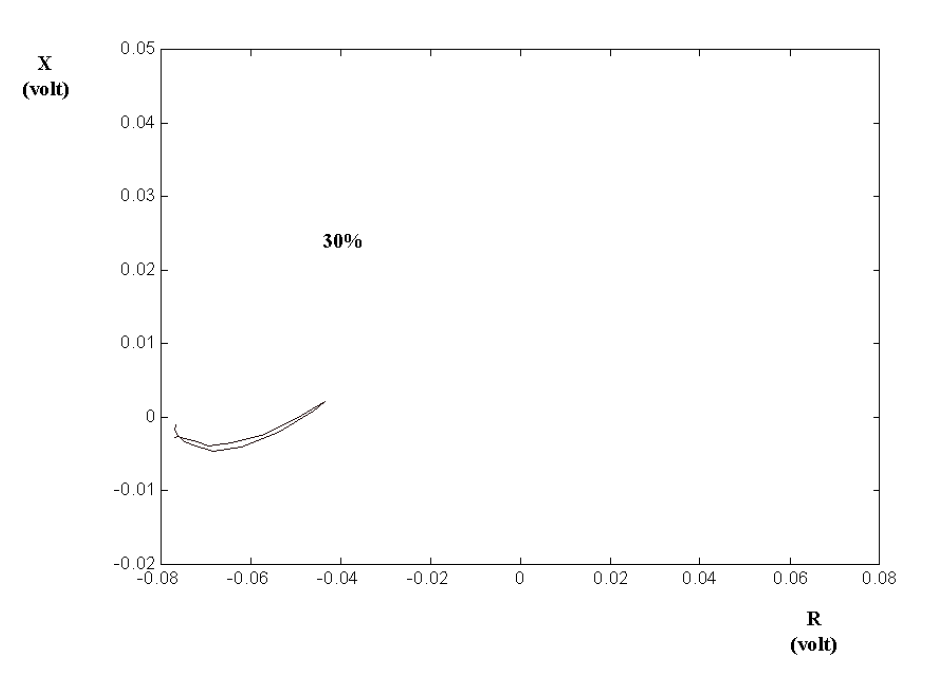
Signature of a 30% wall thickness depth artifical defect
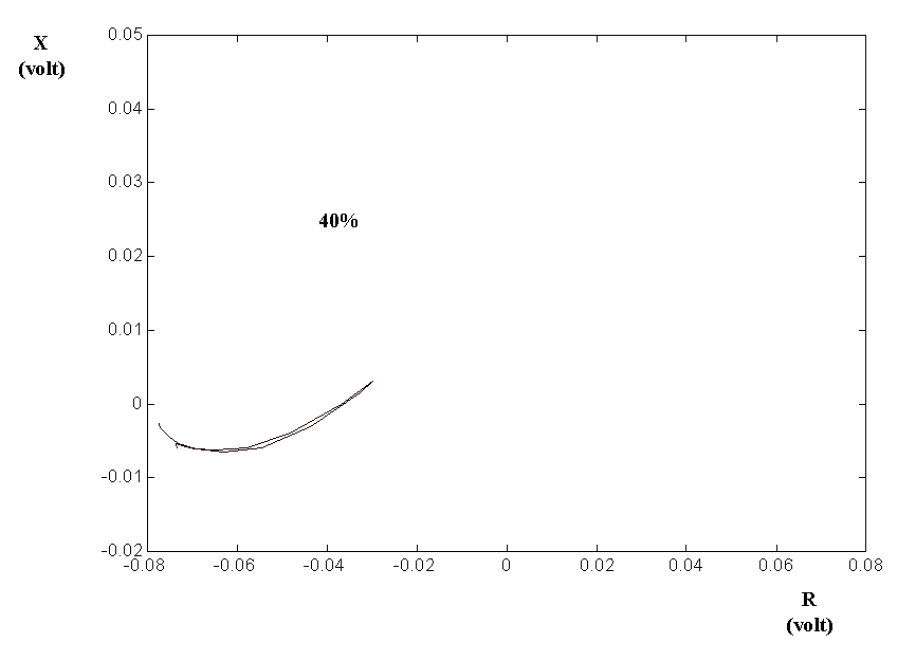
Signature of a 40%wall thickness depth artifical defect
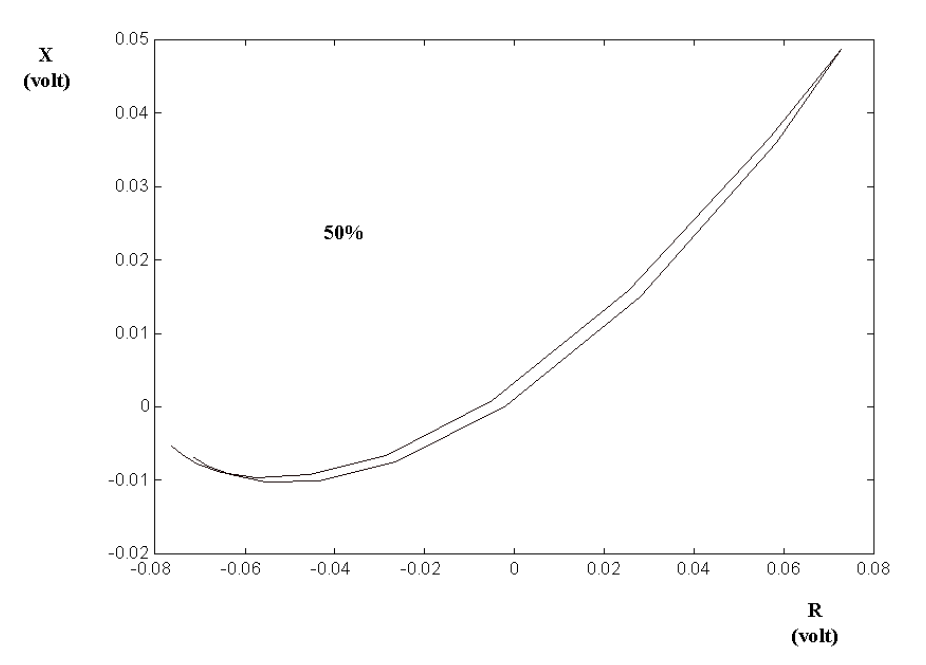
Signature of a 50% wall thickness depth artifical defect
It is worth noting that the probe is also capable to measure the remaining thickness under the flaws.
